Category: Tips & How To’s
-
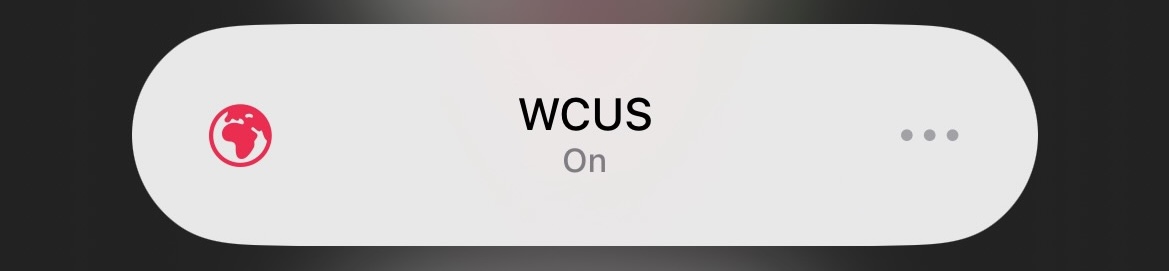
My WordCamp US Focus Mode
iOS Focus Modes are a game-changer! A couple of years ago I wrote a post about how I used them to totally change my relationship to my phone. This summer, I’ve taken things up a notch—tweaking my Travel Focus and even creating a Québec Focus for our recent family trip. If you’re curious about the…
-
Running a Mastodon server
I ran a mastodon server over at winnipegsocial.online for about two months. I took it down last over this past weekend. When the mastodon exodus started to bubble up I thought I’d jump in feet first and find out what it takes to run a server. Overall, it was just about as easy as I…
-
iOS Focus Modes Changed My Life
Well, almost. They certainly changed my relationship with my devices. What’s a focus mode? You might have noticed that “focus” button in iOS your phone’s Control Center and never known what it does. Or maybe you have noticed “driving focus” when you connect to your car’s bluetooth. Focus Modes one of many great iOS feature…